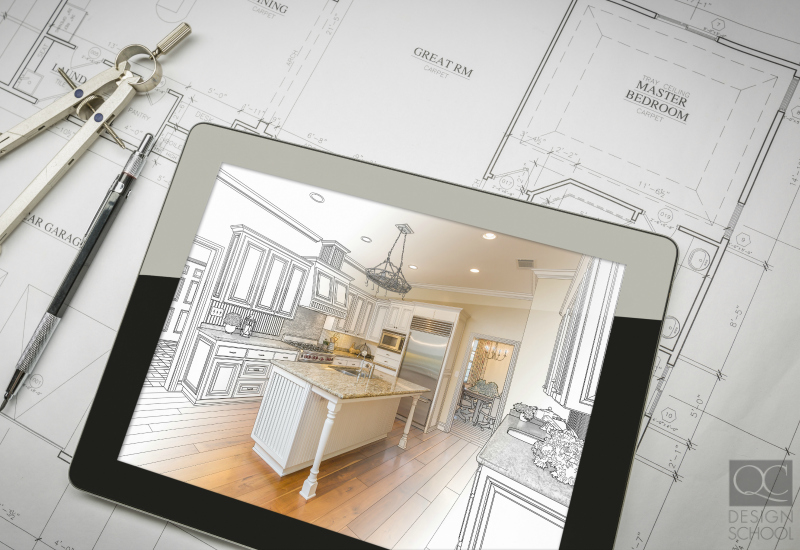
In the design industry, floorplans act as a basis for communication. Trust us when we say they will make your life a lot easier. When it comes to working with clients and other design professionals – visuals are better! Otherwise it can feel a lot like playing Marco Polo in the dark.
Technical drawings may not be the reason you want to become an Interior Decorator, but they are very important. You can’t make a foolproof decor plan without them. Your clients wouldn’t be too happy if that gorgeous grey suede sofa didn’t fit in their living room! So, think of floorplanning as the bread to your butter. Once you nail it down, you can start working on the fun stuff!
Continue reading for a peek into what you’ll learn about floorplans in your interior decorating course!
Types of floorplans
Depending on what you are working on, you may need to use different types of floorplans. There are three main types- space plans, elevations and isometrics. As an interior decorator, you’ll find yourself mostly using space plans.
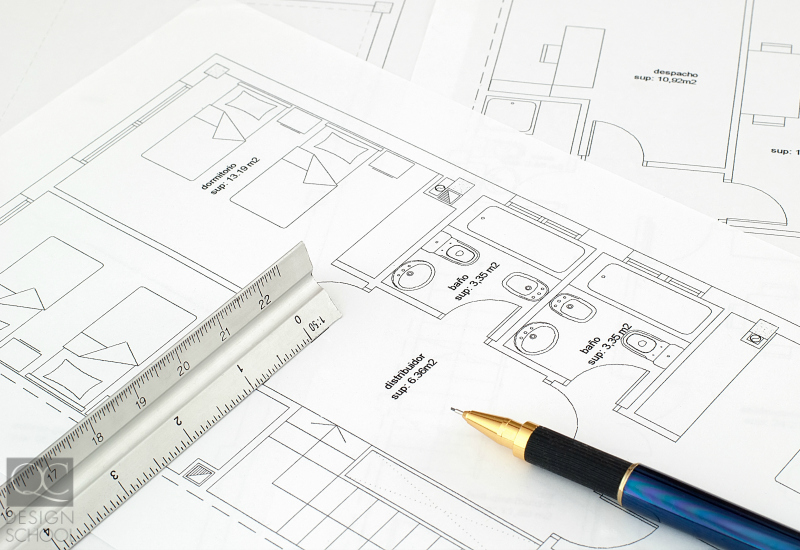
Space plans show a bird’s eye view of a given room. This allows anyone to visualize the space and the room’s layout. The basic structure of a space plan includes any structural elements in a room that are fixed to the space. This is why designers draw things like walls, fireplaces, doors and windows first.
Space plans also allow designers to play with furniture layouts. Trust us – this is a lot more fun than hauling a sofa from corner to corner. Floorplans are also a great tool when shopping for furniture. If your clients need convincing of that chaise lounge, a floorplan can be just the tool to make it happen.
Measuring
Measuring happens before the floorplan. Accuracy is key. Be sure to measure in the units typical of your industry. For most of you this will be feet and inches.
The easiest way to start is to measure the walls from east to west. Once you’ve completed this and recorded your measurements, you can measure north to south. Depending on the room it can be slightly trickier. Baseboards make it harder to get accurate results. To avoid this, don’t measure from one baseboard to the other. Use another part of the wall, and be sure to round to the nearest inch!
Designer’s scale
Scale is all about proportions. Your floorplan needs to be a smaller version of the actual space you are designing. Otherwise you won’t be able to plan properly!
Both rooms and furniture are drawn to scale in floorplan drawings. This way you can get a good idea of how a room will feel once furniture is inside it. Drawing to scale also acts as a communication tool. If you are working with a contractor, a scaled drawing can provide them with room measurements and an idea of the finished product.
You’ll be surprised at how easy it is to draw to scale. Basically, one unit on paper should equal one real life unit. For example, a one inch line on paper could equal one foot in real life. This would be a 1:12 scale. However, the scale used most often is a ¼ scale. This means that for every foot in real life is a ¼ inch on paper. Be sure to mark down the scale you choose on your drawing!
We know that all those ratios do not make it sound easy, but have some faith. There are a ton of tools out there to help you out. Graphing paper is amazing! Plus special rulers exist that have scales marked on them. These six sided “architect’s rulers” can be found at any hardware store.
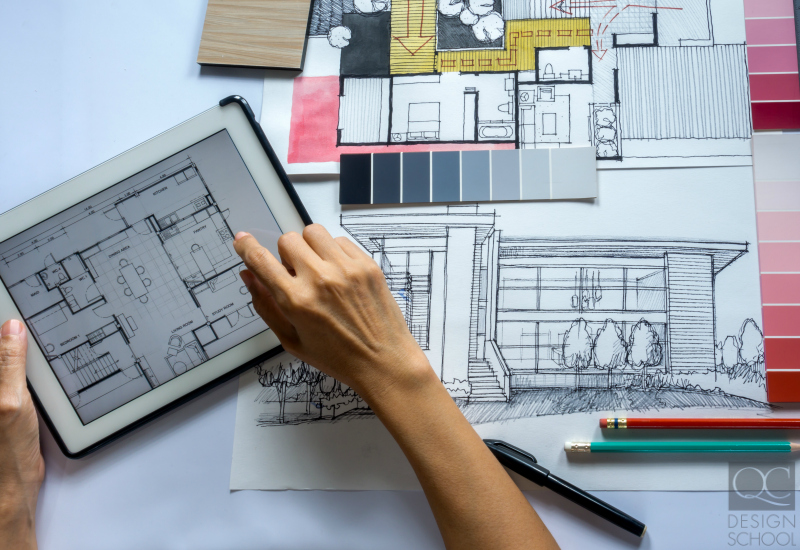
Drawing your own floorplan
We hope you didn’t think you only had one shot to draw a floorplan. In reality, a floorplan starts out as a simple sketch. The first thing you need to do is mark down the walls. Don’t worry about making sure they are straight. At this point you just need a basic outline with your recorded measurements.
After outlining the walls you can start worrying about some of the other elements. Draw in any fixed elements like doors and windows. With mobile elements like doors, make sure you note which way the door swings open. Otherwise you may run into trouble later on. Elements like fireplaces or kitchen islands should be drawn to scale. You want to make sure you have a good estimate of how much area they take up in real life.
You also need to take lighting into account. The most important ones to include are wall and ceiling fixtures. Unless your clients are doing a full renovation, they likely don’t want to start moving electrical wires! Lighting will play a role in where you position furniture as well. You wouldn’t want a dining room table in the corner of the room if the chandelier is in the middle!
Your first floorplan probably won’t look pretty. But it will be a good start. Make sure you re-create a more polished copy to show your clients and any industry professionals.
This is just a basic guide to floorplans. Hopefully you have learned a bit about their importance and what goes into them. With some practice and studying, we’re sure you will be able to whip them up in no time!