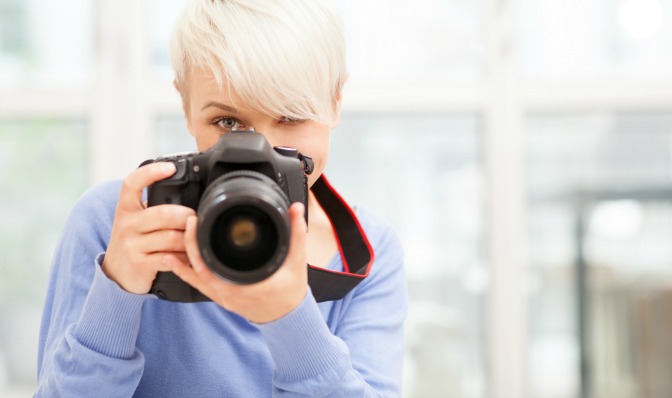
The ability to describe your interior decorating skills is essential, but it might not convince every client. For many, pictures of your work will make the difference between considering your services and actually hiring you. Your portfolio is one of your most important tools, so investing time in taking high quality pictures that display your very best work is well worth the effort.
Design portfolio pictures should show your work in good resolution, displaying details and colors as closely to reality as possible. This doesn’t necessarily mean, however, that you need to hire an expensive photographer when you’re first starting out. If you take the time to learn a few basic elements of photography, you can take good portfolio pictures yourself.
Check out these tips for taking great pictures that will help your portfolio stand out!
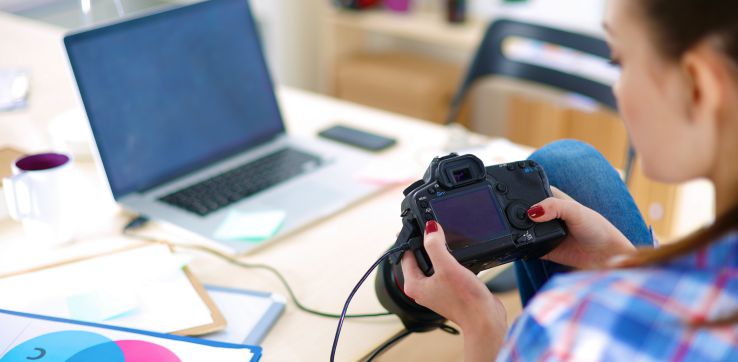 Learning how to edit your pictures doesn’t require you to be a Photoshop master. Most computers provide basic setting adjustments when you upload pictures to your computer, and these should be sufficient for photos that were taken well. Learn how to adjust the color contrast, shadows, saturation, and sharpness of your images to maximize the quality of the picture. Keep in mind that you’re simply fixing the pictures to display your designs effectively. You don’t want to edit them so heavily that they look obviously touched up. Clients want to see your actual work, not work that has been created digitally.
The ability to photograph your own work well is a valuable skill for design professionals. Your work is a visual art and your clients will love being able to see your style and expertise rather than just hearing about it. Practice each of these techniques to the best of your ability and strive to showcase your work professionally.
Learning how to edit your pictures doesn’t require you to be a Photoshop master. Most computers provide basic setting adjustments when you upload pictures to your computer, and these should be sufficient for photos that were taken well. Learn how to adjust the color contrast, shadows, saturation, and sharpness of your images to maximize the quality of the picture. Keep in mind that you’re simply fixing the pictures to display your designs effectively. You don’t want to edit them so heavily that they look obviously touched up. Clients want to see your actual work, not work that has been created digitally.
The ability to photograph your own work well is a valuable skill for design professionals. Your work is a visual art and your clients will love being able to see your style and expertise rather than just hearing about it. Practice each of these techniques to the best of your ability and strive to showcase your work professionally.
1. Learn to work with what you’ve got
Taking your design portfolio pictures on your cell phone might not be the best idea, but if it’s all you have access to then learn how to do it well. Investigate your phone camera settings and practice taking quality shots. Some modern phones feature very high quality cameras. If you have a camera, familiarize yourself with its features and how it works before you choose any shots. Practice thoroughly whether your camera is a small “point and shoot” or a professional grade DSLR. Higher quality cameras can mean higher quality pictures, but only if you use them properly.2. Pay attention to positioning
You want your work to be the focus of the picture, so be careful about where you place it in the frame. If you’re trying to show clients the ornate details on a chandelier, make sure those details are actually visible. If you take the picture from too far away, your client won’t get the insight into your tastes that you’re hoping for. If you take the picture with the chandelier far off to one side and the rest of the picture is an empty space, your client’s attention will be drawn away from the detail and over to the blank space instead.3. Good lighting is essential
If you don’t have access to professional lighting equipment, photograph your work in natural daylight. Natural light keeps the colors looking balanced and true to reality. If the space you’re photographing doesn’t have enough daylight, use a lamp containing a daylight bulb, which mimics the effect. Light up the end table or wall mural you’re photographing to get the best color and definition in the shot. Pay attention to how you angle your light. Straight-on light eliminates distracting shadows.4. Stay focused
Most cameras have auto-focus features, meaning they’ll automatically adjust to get the clearest image. Sometimes, however, autofocus fails, giving you a blurry picture. Clearly, these aren’t fit for your portfolio. Learn how to focus your camera manually and pay attention to how clear and sharp the image is before you click the shutter. You want the picture to be as detailed and high definition as possible.5. Pay attention to your backdrop
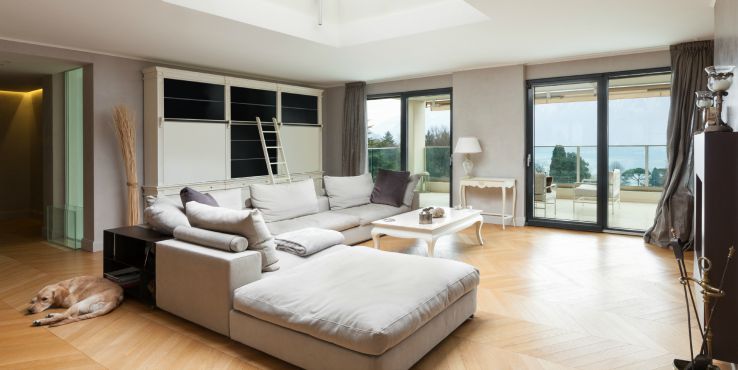
Naturally, most of your attention while you’re taking a picture will be on the object that you want as the focal point of the photograph. Even so, make sure that you pay attention to what’s in the background. Are there bright colors that clash with what you’re photographing? A plain or muted background is best so your client’s eye doesn’t stray from the central focus of the picture. Did the dog wander into the background? Take a new photo. Remember that your clients are expecting professional quality pictures.
6. The bigger picture
Some of your portfolio pictures should showcase the entire room. Pay attention to the sharpness of each color, whether each element of the picture is in focus, where the objects in the room are positioned, and whether the whole scene is well lit. Adjust the angle of both your camera and your lighting to rid the picture of shadows. Is the real focal point of the room the vintage chaise lounge in the center? Make sure your clients can see that by where you position the camera.7. The finer details
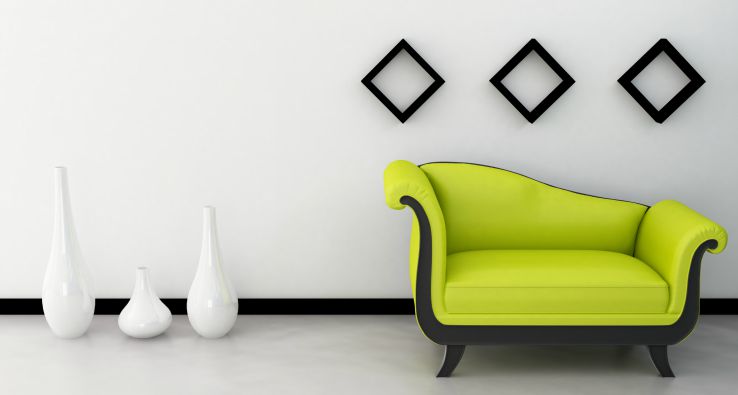
To balance the shots of the entire room, photograph some of your stylistic details. Choose ones that truly showcase your ability to provide unique décor services. Simply photographing the wall paper pattern on an otherwise blank wall might not be the best way to show the client how you coordinate colors and patterns. Instead, consider a close up shot of how the modern clock you hung on that wall offsets the large vintage mirror, or how the sleek black framing of the photos compliments the bold red geometric pattern of the wall paper.8. Use a tripod
If you’re holding a heavy DSLR while you try to take a picture, you might have trouble holding the camera still. Camera movement decreases the quality of your pictures. Invest in a tripod that you can attach your camera to for very still photographs. Tripods come in different heights and sizes and you don’t need an expensive one to start. The steadier your camera is during the picture, the sharper the details will be. A tripod will help keep your camera in focus.9. Consider a shutter release cable
A shutter release cable is a cord that plugs into your camera and has an extra shutter button at the end. They usually work with quality “point and shoot” cameras and professional DSLRs. When you plug the cord in, you can push the button at the end rather than the button on the camera itself to take the picture. Shutter release cables help you avoid touching the camera, letting it stay as still and as focused as possible while you photograph. They’re not an absolute requirement, but they are often affordable and can help you get clearer, sharper pictures.10. Learn basic editing techniques
Learning how to edit your pictures doesn’t require you to be a Photoshop master. Most computers provide basic setting adjustments when you upload pictures to your computer, and these should be sufficient for photos that were taken well. Learn how to adjust the color contrast, shadows, saturation, and sharpness of your images to maximize the quality of the picture. Keep in mind that you’re simply fixing the pictures to display your designs effectively. You don’t want to edit them so heavily that they look obviously touched up. Clients want to see your actual work, not work that has been created digitally.
The ability to photograph your own work well is a valuable skill for design professionals. Your work is a visual art and your clients will love being able to see your style and expertise rather than just hearing about it. Practice each of these techniques to the best of your ability and strive to showcase your work professionally.