If you’re curious about what a day in the life of a home stager looks like, you’re in luck! In this article, we will answer some of the most commonly asked questions about working in the home staging field.
Plus, we’ll also break down what a typical day looks like for home stagers – as well as 10 critical mistakes to avoid making. This way, you can get an accurate idea of what to expect if you decide to pursue this career!
Interested in this career path, but don’t know how to get started? Learn how to become a professional home stager in 7 simple steps… Even if you don’t have any experience!
A Day In The Life Of a Home Stager Revealed
It’s important to know that no two days will look the same for you as a home stager. It’ll all depend on the project you’re working on, and where you’re at in the process. For this reason, we’ll provide an example breakdown of what a typical day might look like based on the following 3 phases of a home staging project:
- The Consultation + Project Prep Process
- Staging Day
- After The Staging Is Complete
1. A Typical Day: The Consultation + Project Prep Process
Let’s imagine that your work day begins with you beginning correspondence with a potential client. Perhaps they’ve seen you on social media, came across your website on Google, or got referred to you by someone they know. Alternately, perhaps you’re following up with a lead provided to you, and you’re the one contacting them for the first time.
You exchange a few emails, and eventually you set up a time for an initial consultation. During this consultation, you’ll talk with the client about their project goals, budget, timeline, and any specific concerns they might have. You’ll also take a look around the property to get an idea of what kind of work will need to be done.
After The Consultation
After the consultation, you’ll put together a proposal for the project. This will include an estimate of the cost and time required to complete the work. Once the proposal is sent off and accepted, it’s time to start preparing for staging day!
This phase of the process will also involve ordering any necessary furniture or decor items, scheduling any rental items or services, and confirming all the details with the client.
As you can see, even during the consultation + project prep phase, there’s a lot of communication involved. You’ll need to be able to clearly communicate with clients in order to understand their needs and goals, and also convey information about your process and what they can expect.
This is why it’s widely regarded that excellent written and verbal communication skills are a MUST in this business!
2. A Typical Day: Staging Day
Next, let’s take a look at what a typical staging day would probably look like for you…
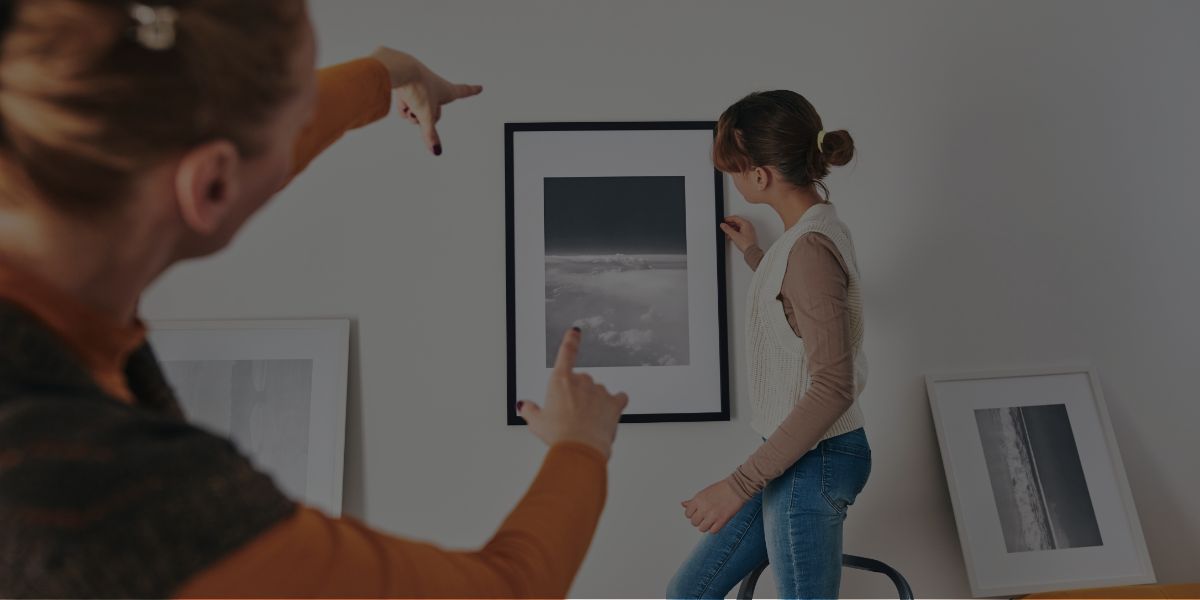
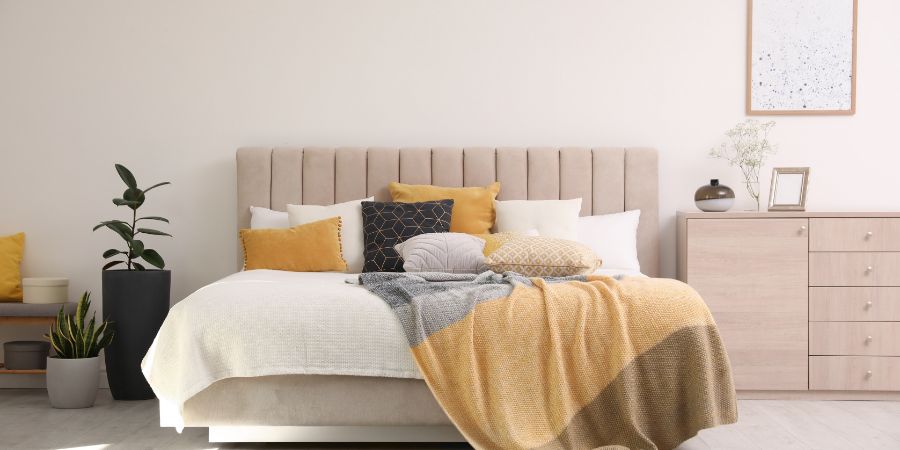
First things first, you’ll need to arrive at the property on time and begin setting up. This will involve bringing in all of the furniture and decor items you ordered, and arranging them in a way that best highlights the property’s features.
You’ll also need to take care of any last-minute details, such as hanging curtains or putting out rugs. Once everything is set up just the way you want it, it’s time for the final touches!
This part of the process is all about making sure the property looks its absolute best. This means taking care of things like fluffing pillows, straightening up any coffee table books or magazines, and adding fresh flowers or greenery.
Once The Staging Is Done
After you’re done with the final touches, it’s time to take some photos! These photos will be used to market the property, so it’s important that they look great. Photos are usually taken by a professional photographer… But as the home stager, you’ll need to be in charge of making sure the property is looking its best before the photographer arrives.
Once the photos are taken care of, you’ll need to pack up all of your belongings and head out. And that’s a wrap on another successful staging day!
3. A Typical Day: After The Staging Is Complete
Just because your client’s home has been staged doesn’t mean the project’s complete. On the contrary, once the staging is done you’ll still need to stay in communication with your client to make sure they’re happy with the results.
You’ll also need to keep an eye on the property, even after it’s been listed for sale. This means periodically checking in (either with the client or their real estate agent) to see how showings are going, and whether or not any changes need to be made to the staging.
And of course, once the property is sold you’ll need to coordinate with the new owners to schedule a time for you to come and remove all of your belongings. From there, it’ll then be time to submit your invoice and collect any outstanding payments.
Following Up With The Client
Following up with your client post-project is also super important. You can do this a few different ways, such as:
- Sending a handwritten thank you note
- Emailing or calling to check in
- Checking in via social media
- Sending a small gift
- Sending a customer satisfaction survey for them to fill out
Why is this step critical?
Well, for starters, it’s always nice to hear feedback about your work. Secondly, it helps to solidify the relationship for future projects. And thirdly, this will be your chance to get a positive review that can be used on your website and/or social media platforms!
And that’s a typical day (or rather, a typical few weeks or months!) in the life of a home stager! As you can see, it’s a very detail-oriented and hands-on job. But as you can imagine, it can also be extremely rewarding, both professionally and personally.
What Is The Goal Of a Home Stager?
The goal of a home stager is to help prepare a house for sale by making it look as appealing as possible to potential buyers. This is done by decluttering, rearranging, and accessorizing the space in order to make it more visually appealing.
Home staging is becoming an increasingly popular way to help sellers get top dollar for their homes. As a result, the demand for home stagers is on the rise!
Day-To-Day Duties Of a Home Stager Who Runs Their Own Business
If you’re a home stager who runs your own business, your day-to-day duties will vary depending on the project at hand. However, there are some common tasks that you’ll likely find yourself doing on a daily basis, such as:
- Meeting with clients to discuss their needs and wants
- Inspecting properties to be staged
- Creating staging plans
- Shopping for furniture and decor
- Coordinating with other vendors (e.g. painters, photographers, etc.)
- Setting up and styling the property
- Taking photos of the staged space
- Staying in communication with clients post-project
Administrative Duties
Now, you might be thinking, “This basically sounds like everything you discussed earlier…”
Yes, BUT! On top of the duties listed above, there are additional tasks that come along with running your own business.
This includes (but is not limited to) administrative tasks, such as:
- Creating and sending invoices
- Tracking expenses
- Marketing your business
- Building and maintaining relationships with clients
- Managing a team of employees or contractors (if you have one)
Phew! As you can see, running a home staging business requires a LOT of work. But in the same breath, becoming an entrepreneur and launching your very own company can also be remarkably rewarding!
So, let’s look at that next…
Working as a Home Stager: The Benefits Of Running Your Own Business
There are plenty of benefits that come along with running your own business. These include:
- Being your own boss
- Making your own schedule
- Determining your own pay and salary
- Having the freedom to be creative
- Building relationships with clients
- Helping people achieve their goals
Disadvantages
Of course, as with anything in life, there are also some challenges that come along with being a business owner. These include:
- Wearing many hats (e.g. sales, marketing, accounting, customer service, etc.)
- Dealing with the ups and downs of being your own boss
- Constantly hustling to find new clients
- Working long hours (sometimes into the night and on weekends)
That said, these challenges are often outweighed by the benefits of running your own business!
And the fact is, if this is something you’re truly passionate about, you’ll quickly find that the pros will definitely outweigh the cons.
PRO TIP: Here are 10 quick tips to help you start a successful home staging business from scratch!
What Makes a Good Stager?
If you have these qualities, then a career in home staging could be a great fit for you!
If you’re thinking about becoming a home stager, it’s important to ask yourself if you have the qualities that make a good stager. These include:
- An eye for design
- A passion for helping people
- Excellent communication and people skills
- The ability to think outside the box
- Creativity
- Detail-orientation
- Organization
- A strong work ethic
- The ability to lift and move heavy furniture (though this is not necessarily required)
Home Staging Certification
While there is no required certification to become a home stager, some individuals choose to get certified in order to make themselves more marketable to potential clients. In the real world, many regard some type of home staging certification to be another must-have skill for any good stager.
These days, you can find all sorts of reputable programs, both in-person and online. QC Design School, for example, offers a self-paced, online Home Staging Course that you can complete in as little as 12 weeks.
The best part?
Once you graduate, you’ll receive a physical copy of your globally-recognized International Staging and Redesign Professional (ISRP) double certification. What’s more – this also acts as your official designation, too. Meaning, you can proudly display it on your website, social media handles, and add ISRP at the end of your name (such as on your business cards).
View QC Design School’s full Home Staging Course curriculum for more info!
What Should You NOT Do When Staging a House?
Finally, let’s take a look at some of the cardinal home staging sins you should never commit.
Sin #1: Not Decluttering
One of the most common mistakes made when staging a home is not decluttering enough. This is especially true when it comes to closets, cupboards, and shelves – areas that tend to be crammed full of “stuff.” The key here is to make sure that these areas appear spacious, so potential buyers can easily envision themselves storing their own belongings there.
To do this, simply remove any non-essential items and clear off any surfaces that may be cluttered. You might even want to consider renting a storage unit to temporary house some of these items, too.
For more decluttering tips, we swear by these 5 pieces of advice by Marie Condo!
Sin #2: Not Depersonalizing
Another common mistake is not depersonalizing the space enough. Remember, potential buyers want to be able to envision themselves living in the home – and that’s tough to do when there are family photos and personal items everywhere they look.
To remedy this, remove any personal items (e.g. photos, heirlooms, etc.) from the space. You should also consider neutralizing any bold paint colors, too.
Sin #3: Trying to Please Everyone
When it comes to home staging, it’s important to remember that you’re not trying to please everyone. In other words, don’t try to make the space appeal to every single type of buyer out there. Instead, focus on making it appealing to the target market.
For example, if you’re selling a family home, then you’ll want to stage it in a way that appeals to families. This might include adding toys and play areas for children, or setting up the dining room table in a way that’s conducive to family dinners.
On the other hand, if you’re selling a bachelor pad, then you’ll want to staged it in a more sophisticated manner – think: dark, moody colors, sleek furniture, and a well-stocked bar cart.
Sin #4: Not Considering How The Home Will Photograph
Another common staging mistake is not considering how the home will photograph. Remember, in today’s digital age, many buyers will first see your home online. So, you want to make sure it looks good in photos!
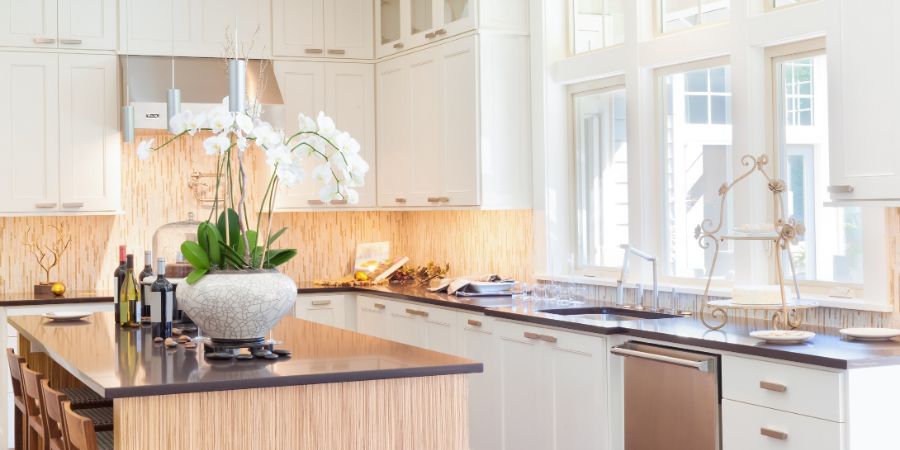
To do this, simply think about the types of photos that are typically taken when a home is being listed for sale. Common shots include the front exterior, the living room, the kitchen, and the master bedroom. With this in mind, make sure that these areas are staged in a way that will look good in photos.
This might mean rearranging furniture to create better flow, or adding some strategic pops of color here and there.
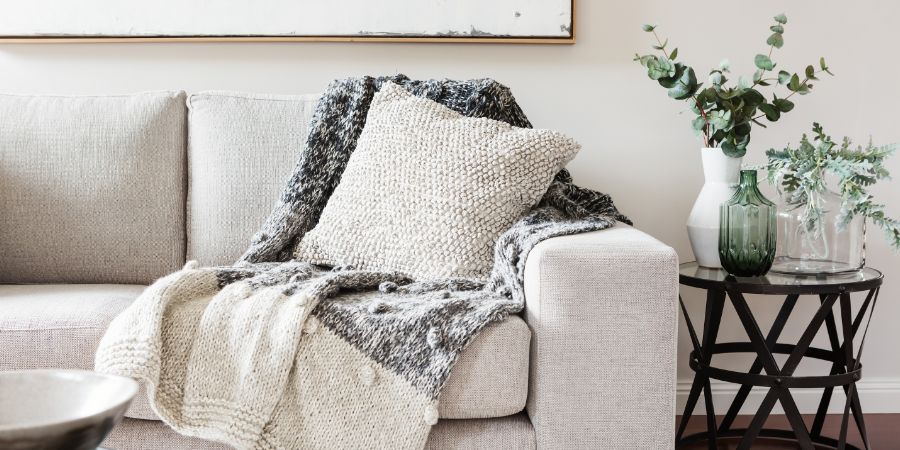
Sin #5: Using Too Many Knickknacks
Resist the temptation to use too many knickknacks and trinkets when staging a home. A few well-placed items are fine, but you don’t want the space to look like a cluttered antique store.
To avoid this, simply edit down your collection of knickknacks and only use a few pieces throughout the space. You might even want to consider putting some of these items into storage, too.
Sin #6: Not Color-Coordinating
Another common home staging mistake is not color-coordinating the space. This is especially true when it comes to linens and towels – two items that have a tendency to be mismatched and haphazardly arranged.
Color plays a major part in the overall feel of a space, so you want to make sure that the colors you use are intentional and cohesive. A good rule of thumb is to stick to a neutral color palette, with one or two accent colors thrown in for good measure.
One suggestion is to simply take the time to color-coordinate these items. You might even want to consider investing in some new linens and towels, too.
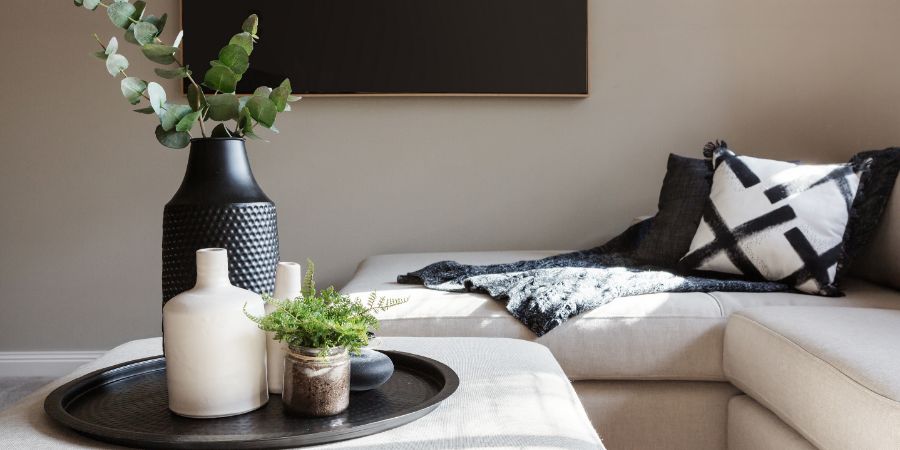
Sin #7: Forgetting About The Theme Of The Space
When it comes to home staging, it’s important to remember that each room should have its own individual theme. This will make the space feel more cohesive and put-together.
For example, if you’re staging a living room, then you’ll want to choose a theme that ties the space together. A few popular themes include “cozy cabin” or “modern farmhouse.”
Once you’ve chosen a theme, you can then select furniture, accessories, and decor items that fit within this aesthetic. This will help create a more polished and pulled-together look.
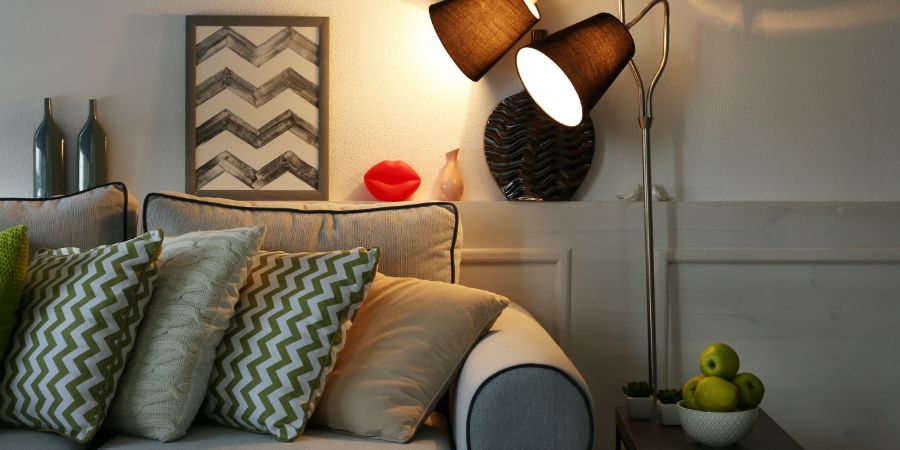
Sin #8: Overlooking The Lighting
Another mistake people make when staging their homes is not lightening up the space enough. This can be a problem in rooms with dark paint colors or heavy curtains.
To avoid this, simply add some additional light sources to the room. This might include table lamps, floor lamps, or even string lights. You can also try opening up the curtains or blinds to let in more natural light.
Sin #9: Depersonalizing Too Much
“But wait,” you might be thinking, “isn’t depersonalizing the whole point of home staging?”
Well, yes and no. When it comes to home staging, there is such a thing as depersonalizing the space too much. After all, you want potential buyers to be able to envision themselves living in the home… And this can be difficult if every room is devoid of personal touches altogether.
To avoid this, simply add a few personal items back into the space. This might include family photos, artwork, or even some personal mementos. Just be sure not to go overboard! As we touched on back in Sin #2, you don’t want the space to feel too “lived in”.
Sin #10: Abandoning Curb Appeal
Last but not least, don’t forget about the outdoor space! This is one area that is often overlooked when it comes to home staging.
Remember, first impressions are everything… And when potential buyers first arrive to your client’s home, the outside is the very first thing they’re going to see.
So, you want to make sure that the exterior of your home is just as well-staged as the interior! This might include power washing the siding, adding some potted plants, or even hanging a wreath on the front door.
PRO TIP: Discover why curb appeal knowledge is integral to the success of your home staging career!
Conclusion
As you can see, there’s a lot that goes into being a successful home stager! A typical day often entails meeting with clients, assessing their needs, and then coming up with a game plan to transform their space.
If you’re thinking of pursuing a career in home staging, then be sure to keep these tips in mind. And, if you’re currently working as a home stager, then be sure to avoid these common mistakes.
Thanks for reading – and happy staging!

Such an interesting read! It’s amazing to see how much creativity and strategy go into a home stager’s daily work.