As a certified interior decorator, your clients expect you to create beautiful homes that match their vision. But luxurious homes can be expensive—and luxury pieces aren’t always functional! Luckily, your professional training course has prepared you well. You’ve learned how to hone in on your creativity. If you couldn’t find that beautiful $1000 apothecary table, you have the chops to DIY it for half the price. At the end of the day, your job is to make your clients happy!
If you’ve been scouring the internet trying to find inspiration for an interior decorating job, look no further! Here are the 6 best DIY IKEA furniture hacks from around the web!
Furry Stool (See the tutorial!)
You can’t go wrong with the promise of a luxury stool that costs just $30 to make in under 30 minutes. Not only does it look amazing and match current Instagram aesthetics, but it also makes the space feel high-end and cozy.
To start, you’ll need the MARIUS stool, the spray paint of your choice, RENS sheepskin rug (or TEJN rug for a cheaper option), double-sided tape, and oversized safety pins. After purchasing your materials, get settled and start the clock! Assemble and spray paint the stool—skip the top as it’ll be covered. Just paint the underside of the seat and the legs! Once dry, lay the sheepskin atop the seat, and secure it underneath with the double-sided tape. Fold the excess sheepskin fur under the seat until it’s all tucked neatly, and secure using your oversized safety pins. For a more permanent hold, sew it in! Don’t be afraid to loop the thread around the holes in the seat of the stool. The fur on the sheepskin will hide it well!
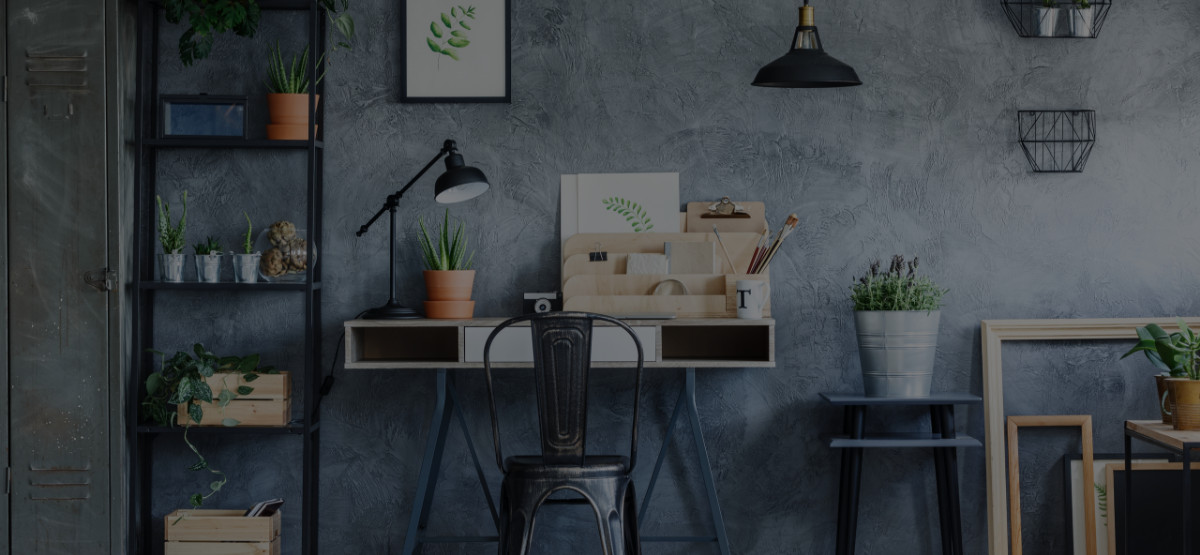
Hanging Wall Organizer (See the tutorial!)
This DIY is truly deserving of the “hack” title. Simply hang up a slated base (usually used to support mattresses atop IKEA’s many single bed models). To ensure it matches the décor of your client’s home, paint the slats to go with the color scheme. Then, secure wall hangers to the wall of your choice, and hang the base off it. Can you believe that the bulk of the work is done? All you need to do now is hang KUNGSFORS S Hook hangers off individual slats to secure items. A pair of hooks can even hold up a basket for keys and a wallet if this organizer is going to be next to the door. Ensure that your client knows not to try hanging anything too heavy!
Mid-Century Modern Coffee Table (See the tutorial!)
Ah, the trusty but understated LACK coffee table. At just $50 a pop, you can imagine why it’s so pervasive in homes. However, its instantly recognizability means trendy clients who want furniture that lasts may opt for more upscale choices. But there’s actually a far cheaper way to make this stylish. Enter: mid-century tapered legs!
Kirsten of Triple Max Tons chose to pair her white table surface with a set of wooden legs with metallic feet. If your client hasn’t already put the table together, you’ll save some disassembly time! Take each leg and screw them into the pre-drilled holes under the table top. Ta-da! You’re done! You’d be surprised at just how far a new pair of legs can carry your project!
Nursery Wardrobe Shelf (See the tutorial!)
This isn’t necessarily a hack, but it sure is a fantastic way to create some extra storage. Despite the project’s name stating that it’s for nursery clothes, this DIY is versatile. The items you’ll need are the LACK wall shelf and a FINTORP Rail.
Of course, you should measure out the space and go view the selection of rails and shelf sizes before purchase. If you intend on setting it up in the closet, you need to make sure it’s going to fit lengthwise and widthwise when clothes are hanging off it!
Before installing the wall shelf, screw in the rail to the bottom. Now your client can store items for display at the top, but she can also hang clothes and other organizers off the rail!
Bedside Shelf (See the tutorial!)
At just a fraction of the cost of the cheapest wall shelf, these $4 KEKVAM spice racks have been making waves in the IKEA DIY community. By far the easiest “hack” on our list! If your client is missing storage in the bathroom, kitchen, living room—basically any room in the house—vertical storage and wall space is the way to go!
At 4 ½ inches wide, it can hold a variety of stuff. Magazines, crafting supplies, bottles, plants, etc. And here’s the kicker—it resembles the Wardrobe Shelf hack we just mentioned when you flip it upside down! Paint it the color(s) you wish and then suspend it upside down. The upper surface becomes a floating shelf that can be used for displaying objects. Meanwhile, you can use the guardrail to hang items and hooks for more space. This is super handy as a towel rack in the powder room!
Banquette Seat (See the tutorial!)
KALLAX (formerly EXPEDIT) shelves are some of the first bookcases and storage units purchased for new homeowners. Couple that with a love of restaurant booth seats and you have a DIY that’s multifunctional while saving space. This hack is perfect for the mudroom. Your clients will be able to sit down and have easy access to the shoes and sports equipment in the cubbies below.
You’ll need the single-column KALLAX shelf, 5.1’ x 4’ plywood board, 1” thick foam, 2” thick foam some batting, and canvas fabric. Krys of Melo-drama upholstered the 1” thick foam-batting-plywood combination with two pieces of 4 ½ feet long canvas to make the backboard. Since it will be pushed up against the wall, simply put the shelf at the feet of the board to anchor it. Then cut a piece of MDF board and attach the 2” thick foam, batting, and more fabric to it. Staple excess fabric onto the underside. You can also secure it all using command hooks or other Velcro adhesives!
Got any other IKEA hacks you want to share? Leave a comment!